How to Drywall a Ceiling
Drywalling a ceiling can be a challenging task, but with the right tools, materials, and techniques, it is a manageable project for both DIY enthusiasts and professional contractors. At St. John's Drywallers, we are dedicated to providing top-notch drywall services to our local community in St. John's, Newfoundland. This guide will walk you through the essential steps for drywalling a ceiling, ensuring a smooth and professional finish.
Tools and Materials You’ll Need
Before you start, gather the necessary tools and materials:
Tools:
- Drywall lift (optional but recommended)
- Utility knife
- Drywall saw
- T-square or straight edge
- Tape measure
- Drywall screws or nails
- Screw gun or drill
- Joint tape
- Joint compound (mud)
- Sanding block or sandpaper
- Ladder or scaffolding
Materials:
- Drywall sheets (1/2 inch or 5/8 inch thick)
- Drywall screws or nails
- Corner bead (for edges and corners)
- Primer and paint (optional)
Step-by-Step Guide
Step 1: Prepare the Ceiling
Before you begin installing drywall, ensure that the ceiling framing is in good condition and all electrical and plumbing work is completed. Mark the ceiling joists' positions to help you screw or nail the drywall sheets into place.
Step 2: Measure and Cut the Drywall
Measure the dimensions of the ceiling and cut the drywall sheets to fit. Use a T-square and a utility knife to score the drywall, then snap it along the score line. Trim any rough edges with the utility knife or drywall saw.
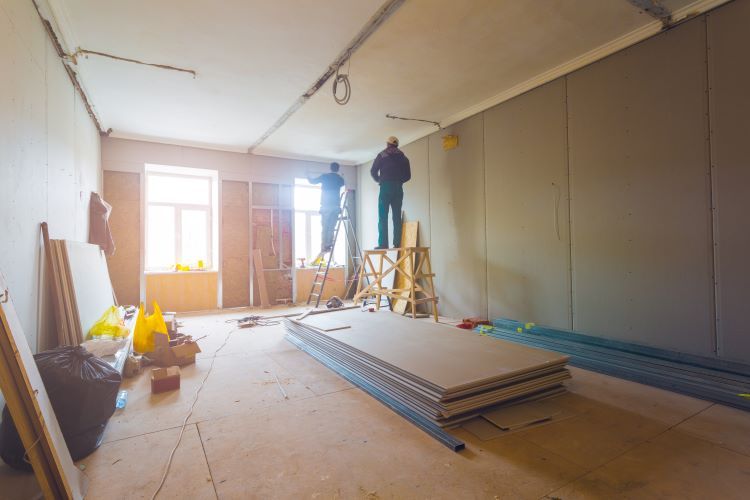
Step 3: Install the First Drywall Sheet
With the help of a drywall lift or an assistant, raise the first sheet of drywall to the ceiling. Position the sheet perpendicular to the ceiling joists, starting from one corner. Secure the sheet with drywall screws or nails, spacing them approximately 12 inches apart along the joists.
Step 4: Continue Installing Drywall Sheets
Continue installing drywall sheets across the ceiling, ensuring the edges are tightly butted together. Stagger the joints between sheets to enhance the ceiling’s structural integrity. Cut holes for light fixtures, vents, or other ceiling fixtures as needed using a drywall saw.
Step 5: Apply Joint Tape
Once all the drywall sheets are installed, apply joint tape over the seams. Use paper or mesh joint tape to cover the joints where the drywall sheets meet. For inside corners, fold the tape lengthwise before applying.
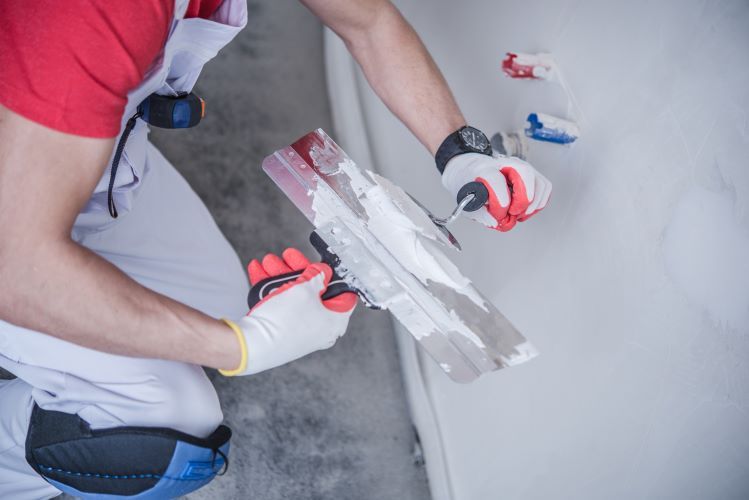
Step 6: Apply Joint Compound
Apply a layer of joint compound (mud) over the taped seams using a drywall knife. Spread the compound smoothly, feathering the edges to blend into the surrounding drywall. Apply joint compound over screw or nail heads as well. Allow the compound to dry according to the manufacturer’s instructions.
Step 7: Sand and Apply Additional Coats
Once the first coat of joint compound is dry, sand it lightly with a sanding block or sandpaper to remove any high spots or rough areas. Apply a second coat of joint compound, feathering the edges further out from the seams. Repeat this process for a third coat if necessary, ensuring a smooth and even finish.
Step 8: Sand the Final Coat
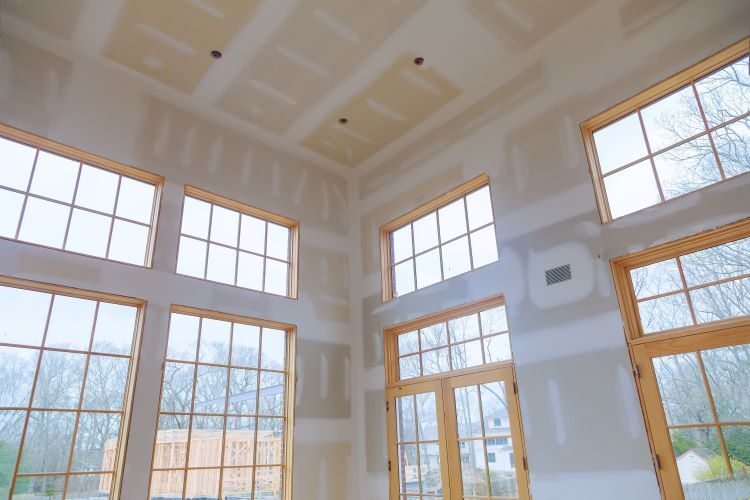
After the final coat of joint compound is completely dry, sand the entire ceiling to achieve a smooth, even surface. Wipe away any dust with a damp cloth.
Step 9: Finish the Ceiling
Prime and paint the ceiling to your desired finish. Use a roller or paint sprayer for an even coat. If you prefer a textured finish, apply the texture before painting.
Tips for Success
- Use a Drywall Lift: A drywall lift can make the installation process much easier, especially if you are working alone. It helps to position and hold the drywall sheets in place while you secure them.
- Stagger Joints: Staggering the joints between drywall sheets adds strength to the ceiling and reduces the risk of cracks.
- Feathering Joint Compound: Feather the edges of the joint compound to blend it seamlessly into the surrounding drywall, creating a smooth finish.
- Proper Ventilation: Ensure proper ventilation in the room during sanding and painting to avoid inhaling dust and fumes.
Conclusion
Drywalling a ceiling requires patience, precision, and the right tools, but the result is a beautifully finished ceiling that enhances the appearance and functionality of your space. Whether you’re tackling a DIY project or seeking professional assistance, St. John's Drywallers is here to help.
Contact us today for expert drywall services and advice to ensure your ceiling project is a success.
You might also like