Avoiding Common Mistakes in Drywall Installation
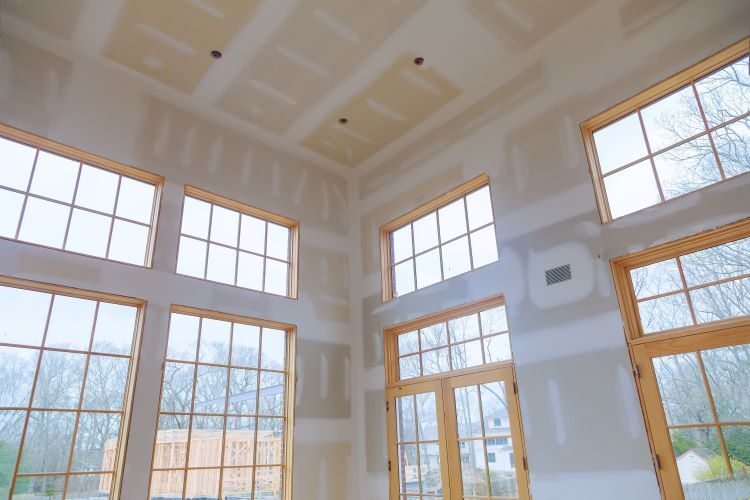
Installing drywall is a fundamental step in most construction and renovation projects. When done correctly, it provides a smooth, durable surface ready for painting or finishing. However, even small mistakes during drywall installation can lead to visible imperfections, structural issues, and increased costs. At St. John’s Drywallers, we’re committed to helping our clients achieve flawless results, so we’ve put together this guide on how to avoid common mistakes during drywall installation.
1. Improper Measurement and Cutting
Common Mistake: One of the most frequent mistakes is inaccurate measurement and cutting of drywall sheets. This can result in gaps, uneven edges, or excessive waste.
How to Avoid It:
- Measure Twice, Cut Once: Always double-check your measurements before cutting. Use a T-square or drywall square to mark straight lines on the sheet.
- Leave a Small Gap: When cutting drywall for tight spaces, leave a small gap (about 1/8 inch) around the edges. This allows for slight adjustments and prevents the drywall from cracking during installation.
- Use the Right Tools: A utility knife is ideal for scoring drywall, but make sure to use a sharp blade to avoid jagged edges. For more complex cuts, consider using a drywall saw or a rotary cutting tool.
2. Incorrect Fastening
Common Mistake: Overdriving screws or nails into the drywall is a common issue that can weaken the hold and create indentations that are difficult to conceal.
How to Avoid It:
- Set the Depth Correctly: If you’re using a drill, set the depth to ensure screws are driven just below the surface of the drywall without breaking the paper face.
- Space Fasteners Evenly: Space screws or nails 12 to 16 inches apart for walls and ceilings. Make sure they are driven into the studs securely.
- Avoid Overdriving: Overdriven screws or nails can damage the drywall and reduce its holding power. If this happens, remove the fastener and drive a new one slightly above or below the damaged spot.
3. Ignoring Joint Gaps
Common Mistake: Leaving too much or too little space between drywall sheets at the joints can lead to problems with taping and mudding later on.
How to Avoid It:
- Maintain Consistent Gaps: Aim for a gap of about 1/8 inch between sheets of drywall. This allows for expansion and contraction without causing the drywall to buckle or crack.
- Stagger Seams: Avoid aligning seams with the edges of doors or windows. Instead, stagger the seams to improve the structural integrity and reduce the risk of cracks.
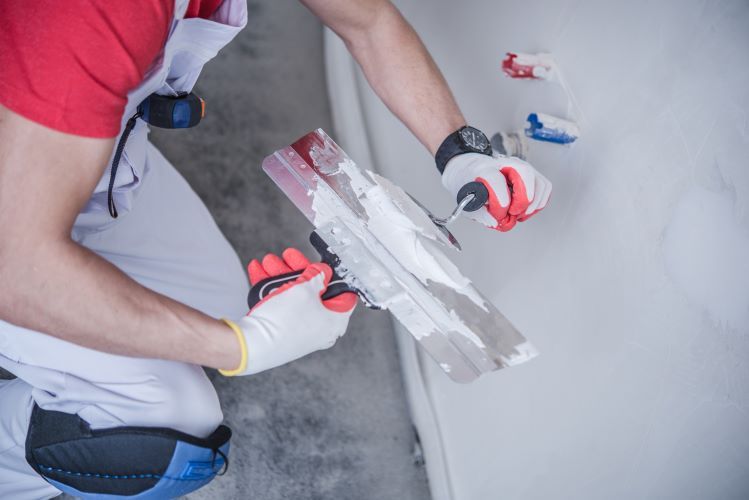
4. Poor Taping and Mudding
Common Mistake: Applying too much or too little joint compound, or failing to properly embed the tape, can result in visible seams, bubbles, or cracks.
How to Avoid It:
- Use the Right Amount of Compound: Apply a thin layer of joint compound to the seam, just enough to cover the gap and embed the tape. Using too much compound can lead to excessive sanding, while too little can cause the tape to lift.
- Smooth the Tape: After placing the tape over the joint compound, use a taping knife to smooth it out, removing any air bubbles or excess compound.
- Apply Multiple Layers: Apply at least three layers of joint compound over the tape, feathering out each layer further than the last. Allow each layer to dry completely before sanding and applying the next.
5. Inadequate Sanding
Common Mistake: Rushing through the sanding process or using the wrong technique can leave behind rough spots, ridges, or dust that will show through paint.
How to Avoid It:
- Use the Right Grit: Start with medium-grit sandpaper (120-150) for initial sanding, then switch to fine-grit (220) for the final pass. This will give you a smooth, even surface.
- Sand with Care: Sand in a circular motion and avoid applying too much pressure. Over-sanding can expose the tape and create uneven spots.
- Check Your Work: After sanding, run your hand over the surface to feel for any remaining imperfections. Shine a light across the wall to highlight any areas that need additional attention.
6. Skipping Primer
Common Mistake: Failing to apply primer before painting can lead to an uneven finish, with the joint compound absorbing paint differently than the drywall surface.
How to Avoid It:
- Always Prime First: Apply a coat of drywall primer before painting. This will seal the surface and ensure a uniform finish, preventing any differences in texture or color between the taped areas and the rest of the wall.
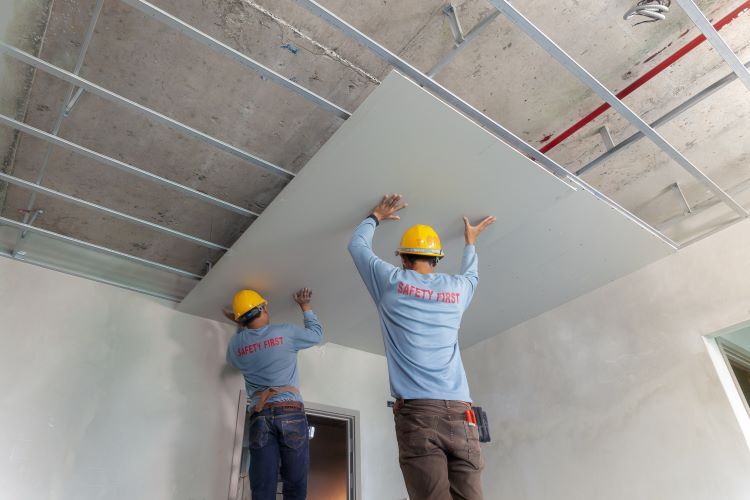
7. Inadequate Support for Ceiling Drywall
Common Mistake: Not providing adequate support for ceiling drywall can cause sagging or even collapse over time.
How to Avoid It:
- Use Thicker Drywall: For ceilings, use 5/8-inch thick drywall, which is less likely to sag over time. In some cases, you may also need to install strapping or additional joists for extra support.
- Proper Fastening: Ensure that ceiling drywall is fastened securely to joists, with screws placed every 12 inches. Consider using drywall adhesive along with screws for added stability.
Conclusion
Drywall installation requires precision and attention to detail to achieve professional results. By avoiding these common mistakes, you can ensure that your walls and ceilings are smooth, strong, and ready for finishing. At St. John’s Drywallers, we pride ourselves on delivering high-quality drywall installation services that stand the test of time.
If you’re planning a renovation or new construction project, trust our experts to get the job done right the first time. Contact us today to learn more about our services and how we can help you achieve a flawless finish for your home or business.
You might also like