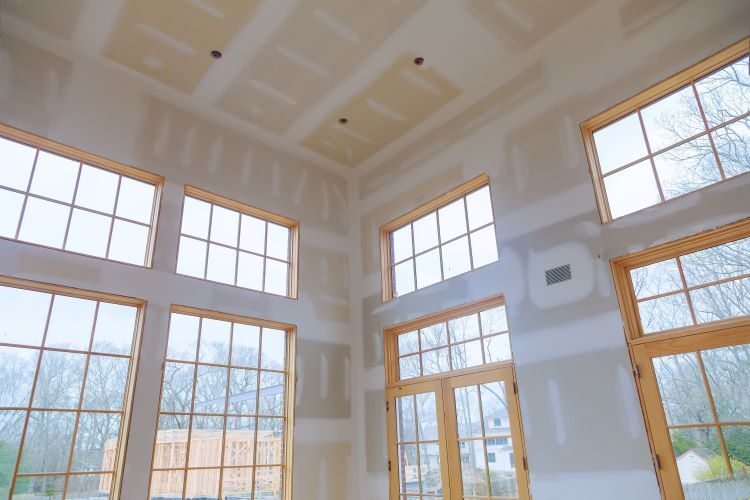
All You Need to Know About Drywall Installation
Whether you're renovating your home or constructing a new building, proper drywall installation is crucial for achieving a smooth, professional finish. In this article, we'll walk you through the step-by-step process of drywall sheet installation and share expert tips to ensure your project is a success.
The Drywall Installation Process
Installing drywall may seem daunting, but with the right approach and tools, you can achieve excellent results. Here’s a comprehensive guide to the drywall installation process:
1. Preparation
Gather Your Tools and Materials
- Tools: Utility knife, drywall saw, T-square, measuring tape, drywall lift or T-brace, cordless drill, screw gun, joint compound, drywall tape, sanding block or sander, and a dust mask.
- Materials: Drywall sheets, drywall screws, joint tape, corner beads, and joint compound.
Measure and Cut Drywall Sheets
- Measure the height and width of the walls or ceilings where you'll be installing the drywall.
- Use a T-square and utility knife to score and snap the drywall sheets to the appropriate size. For openings like windows and doors, use a drywall saw to cut out the necessary shapes.
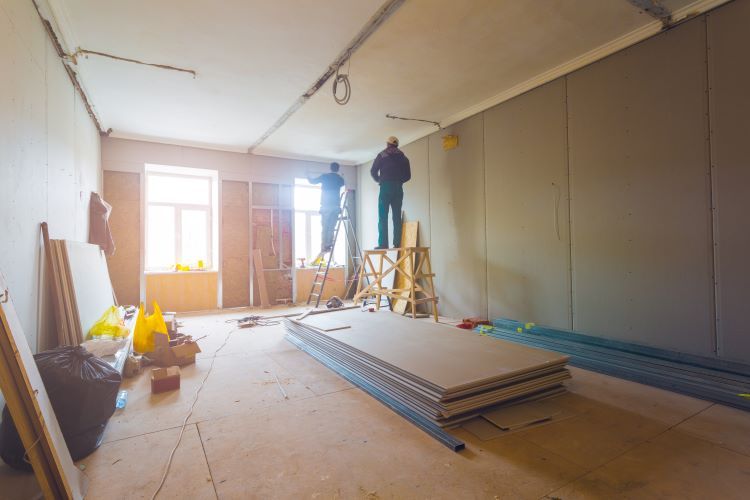
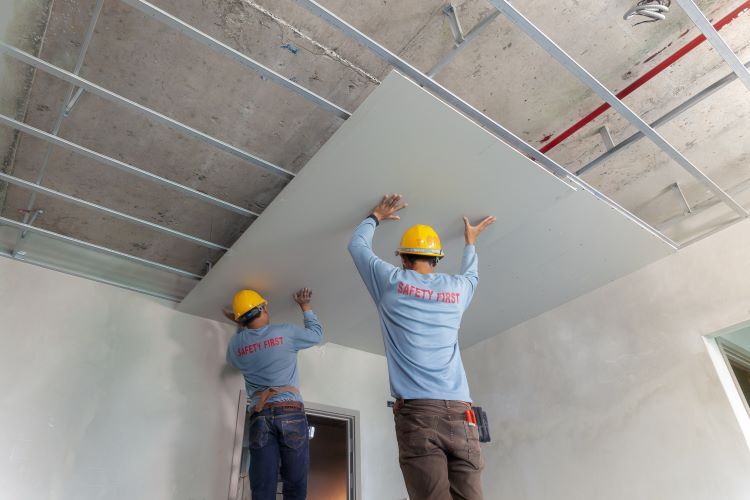
2. Installing the Drywall Sheets
Ceiling Installation
- Start with the ceiling before moving on to the walls.
- Use a drywall lift or T-brace to hold the drywall sheets in place.
- Secure the sheets to the ceiling joists with drywall screws, spacing them about 12 inches apart.
Wall Installation
- Begin at the top and work your way down.
- Position the drywall sheets horizontally on the wall studs.
- Drive drywall screws into the studs, spacing them 12 inches apart for walls.
Stagger the Seams
- Staggering the seams of the drywall sheets prevents the joints from lining up and creates a more stable and seamless surface.
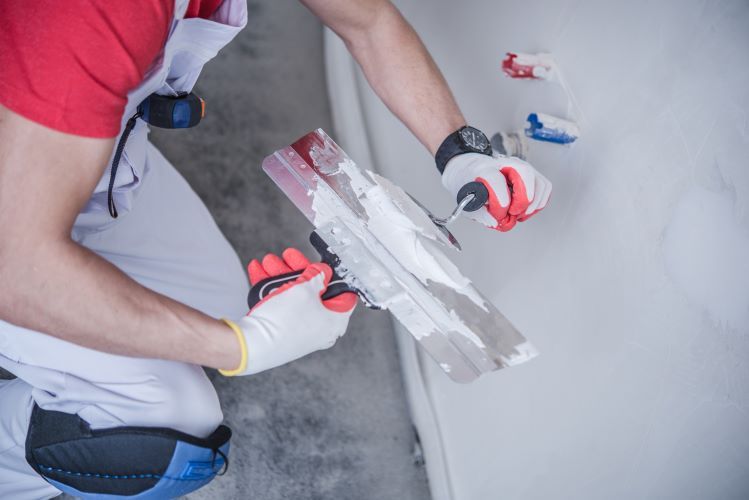
3. Taping and Mudding
Apply Joint Tape
- Apply joint tape over the seams between drywall sheets. This reinforces the joints and helps prevent cracks.
First Coat of Joint Compound
- Spread a thin layer of joint compound over the taped seams using a drywall knife. Smooth it out to create an even surface.
- Apply joint compound over screw heads and smooth it out.
Let it Dry
- Allow the first coat to dry completely before proceeding. This usually takes about 24 hours.
4. Sanding and Additional Coats
Sand the Surface
- Once the first coat is dry, use a sanding block or sander to smooth out any rough spots or ridges.
Apply Second and Third Coats
- Apply a second, slightly wider coat of joint compound over the seams and screw heads. Let it dry and sand it smooth.
- Repeat the process for a third coat if necessary to achieve a smooth, even surface.
5. Finishing Touches
Install Corner Beads
- Install corner beads on external corners to protect them and create sharp, clean edges.
- Apply joint compound over the corner beads and smooth it out.
Final Sanding
- Sand the entire surface one last time to ensure it is smooth and ready for painting or wallpapering.
Expert Tips from St. John's Drywallers
- Plan and Prepare:
- Take your time to measure and plan before cutting any drywall sheets. Accurate measurements reduce waste and ensure a better fit.
- Use the Right Tools:
- Invest in quality tools like a drywall lift and a screw gun to make the installation process easier and more efficient.
- Work with a Partner:
- Drywall sheets can be heavy and unwieldy. Having a partner to help hold and position the sheets can make the job much easier.
- Control Dust:
- Drywall sanding creates a lot of dust. Wear a dust mask and use a vacuum attachment on your sander to keep dust levels down.
- Take Your Time with Joint Compound:
- Applying joint compound can be tricky. Take your time to apply it evenly and smoothly. Multiple thin coats are better than one thick coat.
- Inspect Your Work:
- Before moving on to painting, inspect your work for any imperfections. Address any issues with additional sanding and joint compound as needed.
Conclusion
Drywall installation is a fundamental part of any construction or renovation project. By following the steps outlined in this guide and utilizing our expert tips, you can achieve a professional, smooth finish that will enhance the beauty and durability of your space. If you need assistance or prefer to leave it to the professionals, St. John's Drywallers is here to help. Contact us today for expert drywall installation services in St. John's, Newfoundland.
You might also like